How to Create DIY Dropper Bottle Labels
What You'll Need
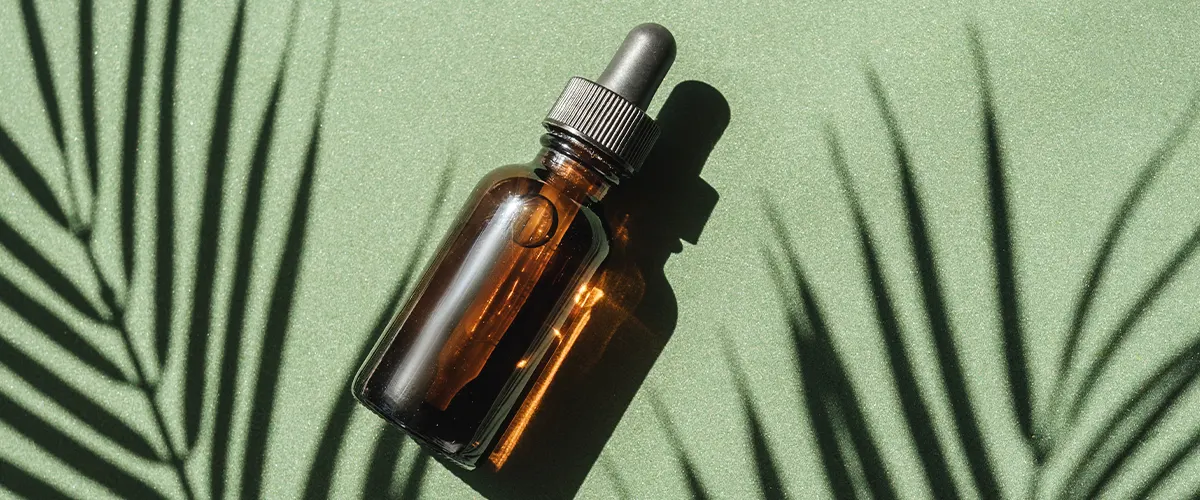
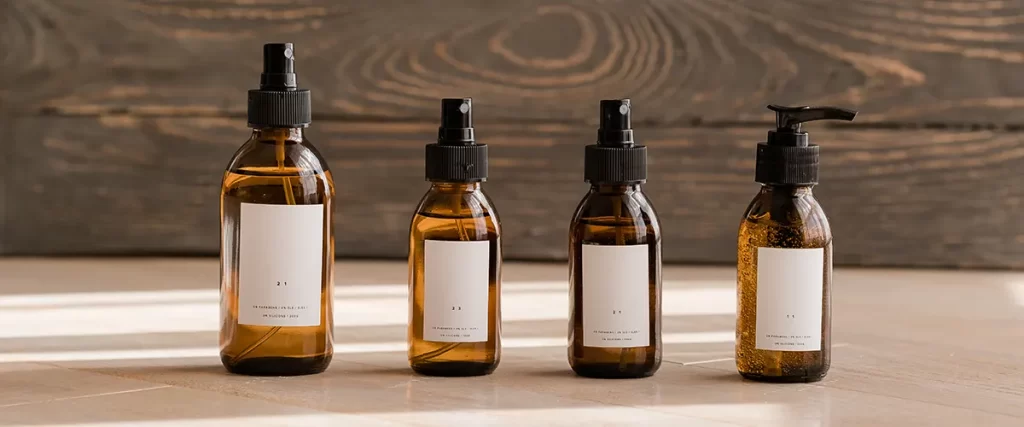
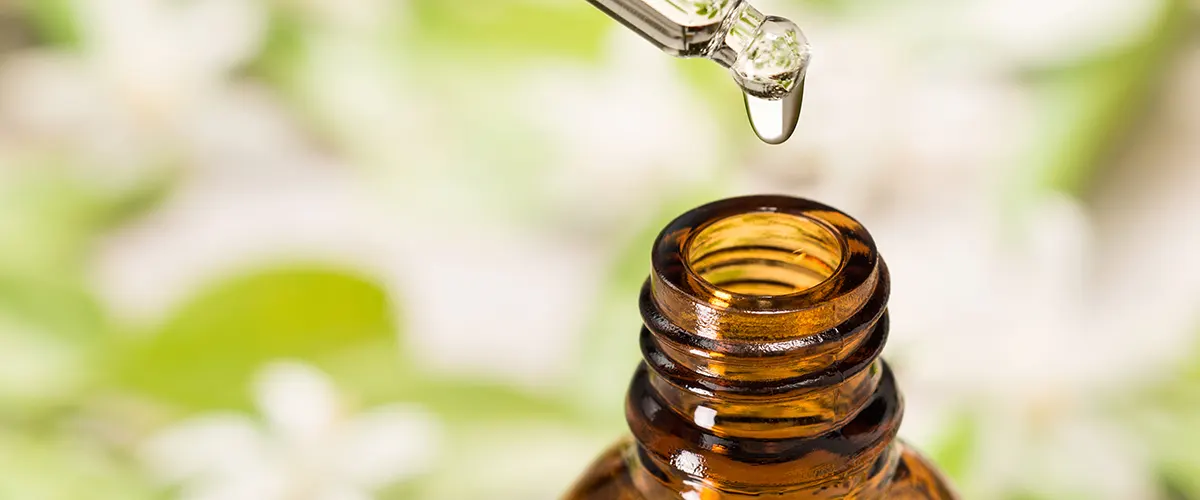
- Dropper bottles (of course!)
- A printer and labels (you can find these at any office supply store)
- Scissors or a craft knife
- Ruler or tape measure
- Pencil or pen
Step One
Step Two
Step Three
Step Four
Wrap your label around the bottle and secure it with clear packing tape or double-sided tape/glue sticks. Make sure that the edges of the label line up perfectly so that there aren’t any gaps.
And that’s it! You now have a beautiful, professionally-looking dropper bottle with a label that’s easy to read. Repeat this process for as many bottles as you need and enjoy showing off your products!
How To Create Professional Custom Labels
Step 1: Find a template online or create your own.
Step 2: Enter your information.
Step 3: Print your labels.
Get The Best Dropper Bottle Labels For Your Brand
If you’re still not sure what size of dropper bottle label to choose for your product, don’t worry! Contact a label manufacturer like us and we can help you figure out the best size for your needs. We offer a variety of sizes and materials to fit any product and branding need. Plus, our team is always here to help with any questions or concerns you may have about choosing or designing labels. Get in touch with us today to get started on your new bottle labels!